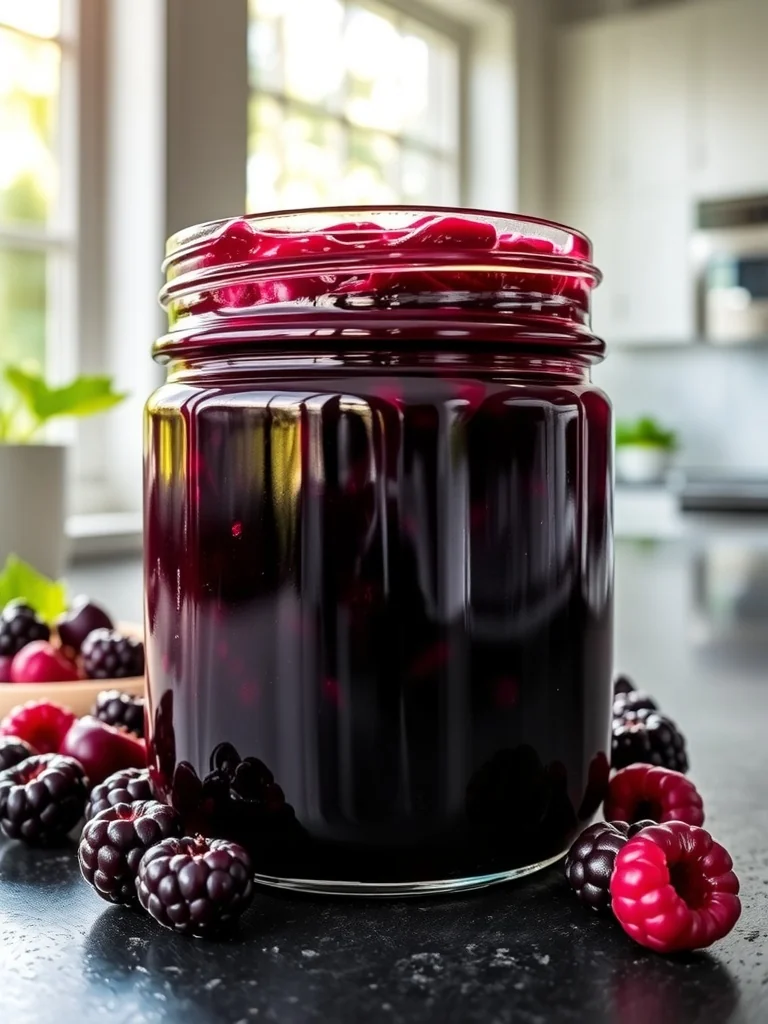
The practice of preserving berries dates back to early settlers who needed a way to enjoy summer fruits through harsh winters. Huckleberries, native to the North American woodlands, were prized for their deep color and tart‑sweet flavor. While the technique is simple—sugar, fruit, and a touch of acid—a careful hand makes all the difference, creating a jam that feels both timeless and homey.
Why You'll Love It
-
- No fancy equipment needed, just a pot and patience
-
- The natural pectin in huckleberries gives a perfect spreadable texture
-
- Vibrant color that makes any breakfast look festive
-
- Ideal for gifts—just pour into a pretty jar
"The jam is like a burst of the forest on a buttered biscuit—absolutely delightful!"
Essential Ingredient Guide
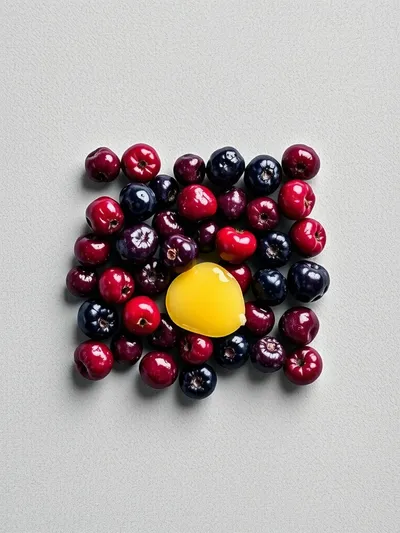
- Fresh huckleberries: Choose berries that are plump and deep blue; rinse gently and pat dry to keep the skins intact.
- Granulated sugar: Standard white sugar works best for a clear glaze; you can adjust sweetness to taste.
- Lemon juice: Adds brightness and helps the jam set while balancing the natural tartness.
- Pectin (optional): If you prefer a firmer set, a teaspoon of commercial pectin can be added after the fruit softens.
- A pinch of salt: Just a pinch enhances the fruit’s flavor without making the jam salty.
- Vanilla extract (optional): A dash adds warmth, especially nice if you plan to pair the jam with baked goods.
 Desserts & Baking
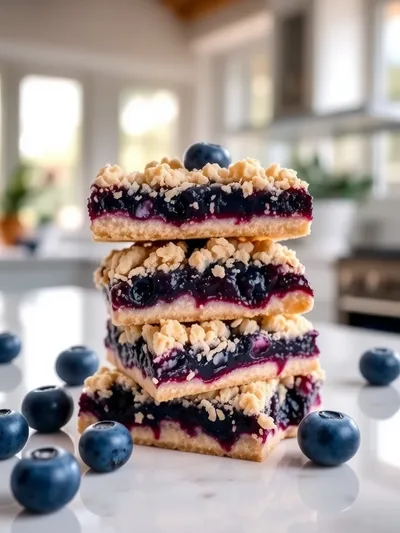
Blueberry Crumble Bars – Easy Homemade Dessert
Buttery blueberry crumble bars that are easy to bake and delightful to share.
Complete Cooking Process
-
Ingredient Readiness:
Wash berries, remove stems, and measure sugar and lemon juice before you start heating.
-
Flavor Development:
Simmer the berries with sugar, allowing them to release juices and swirl together, creating that aromatic base.
-
Texture Control:
Gentle boil breaks down skins while keeping the fruit’s shape, giving the jam its characteristic soft‑but‑intact texture.
-
Finishing Touches:
Stir in lemon juice, a pinch of salt, and optional vanilla at the very end to preserve bright notes.
-
Serving Timing:
Let the jam cool slightly before transferring to jars; it will thicken as it reaches room temperature.
-
Use a wooden spoon to stir – it prevents metal from reacting with the fruit acids.
-
Skim any foam that rises; it keeps the jam clear and glossy.
-
Test the set by chilling a small spoonful on a plate – it should wrinkle slightly.
-
Sterilize jars in boiling water for at least 10 minutes for longer shelf life.
Pro Tips
I find that a quiet moment while the jam is bubbling, watching the color deepen, makes the process feel like a small celebration. Once it’s in the jar, the scent of sweet berries lingers in the kitchen, reminding you of walks through summer woods. Even if you’re a beginner, these gentle steps keep the jam safe and delicious, and the result is a jar you’ll reach for again and again.

The essence of the dish:
It’s the balance of sweet sugar and bright lemon that lets the natural tartness of huckleberries shine, while the gentle simmer preserves the fruit’s tender skins.
A fun fact or historical angle:
Native American tribes used huckleberries not only as food but also as a dye for clothing, thanks to their deep indigo hue.
Flavor or sensory focus:
You’ll notice the first bite is a glossy, fragrant swirl that yields a soft, melt‑in‑your‑mouth texture and a lingering sweet‑tart finish.
You Must Know
-
Never let the jam scorch – keep the heat moderate.
-
A clean lid prevents mold during storage.
-
Refrigerate after opening for best quality.
Frequently Asked Questions
→ Can I use frozen huckleberries?
Yes, thaw them first and drain excess liquid; the jam may need a couple extra minutes to thicken.
→ Do I need commercial pectin?
Huckleberries have natural pectin, so the jam will set nicely without it. Add pectin only if you prefer a firmer texture.
→ How long will the jam keep?
Unopened, stored in a cool, dark place, it lasts up to a year. Once opened, keep it refrigerated and use within 2‑3 months.
→ Can I substitute lemon juice?
A splash of apple cider vinegar works in a pinch, but it will alter the flavor slightly.
→ Is sugar optional?
Sugar helps with preservation and texture; you can reduce it, but the jam will be less glossy and shelf‑stable.
→ What can I pair the jam with?
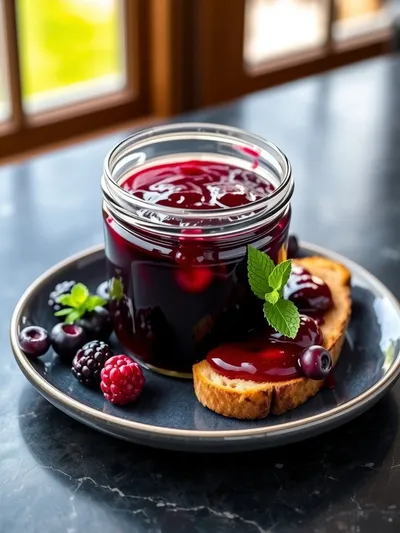
Try it on toast, scones, pancakes, or as a filling for pastries like huckleberry crumb bars here.
Nutrition Facts
per serving
120
Calories
1g
Protein
30g
Carbs
0g
Fat
Taste Profile
Bright, sweet with a gentle tart edge
Ingredient Substitutions
Don't have an ingredient? Try these alternatives
Flavor will be milder; adjust sugar to taste.
May affect the jam’s set; use less liquid overall.
Recipe Variations
Try these delicious twists on the original
Spicy Version
Add 1/4 tsp ground ginger and a pinch of cayenne for a warm kick.
Mediterranean Style
Stir in crumbled feta and a drizzle of olive oil just before serving for a savory twist.
Common Mistakes to Avoid
Learn from others' mistakes for perfect results
- Overheating the jam, which can cause a bitter taste.
- Adding lemon juice too early, which may prevent proper setting.
- Using unsterilized jars, leading to spoilage.
Meal Prep & Storage
Make Ahead Tips
You can prepare the jam up to a week in advance; let it cool fully before sealing the jars.
Leftover Ideas
Reheat gently in a saucepan with a splash of water, stirring until smooth, then use as a sauce for pancakes.
Perfect Pairings
Serve this with...
Cooking Timeline
Wash berries, combine with sugar, and let sit.
Bring to a gentle simmer, stirring occasionally.
Add lemon juice, salt, and optional pectin; continue simmering until thick.
Remove from heat, stir in vanilla, and let cool slightly.
Transfer to sterilized jars, seal, and let cool to room temperature.
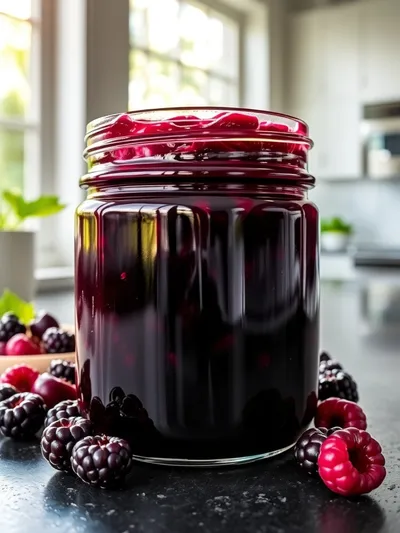
Homemade Huckleberry Jam Recipe
A sweet, glossy huckleberry jam made with fresh berries, simple ingredients, and a gentle simmer—perfect for toast, desserts, and thoughtful gifts.
Timing
Prep Time
15 Minutes
Cook Time
30 Minutes
Total Time
45 Minutes
Recipe Details
Ingredients
Main Ingredients
-
01
4 cups fresh huckleberries (about 2 pounds), washed and stemmed
-
02
2 cups granulated sugar
-
03
2 tbsp fresh lemon juice
-
04
1/4 tsp salt
-
05
1 tsp vanilla extract (optional)
Optional Add‑Ons
-
01
1 tsp commercial pectin (if a firmer set is desired)
-
02
A pinch of cinnamon for warmth
Instructions
Place the huckleberries in a large, heavy‑bottomed pot; stir in the sugar and let them sit for 10 minutes so the berries release their juices.
Turn the heat to medium‑low and bring the mixture to a gentle simmer, stirring occasionally. Watch as the berries soften and the liquid becomes a deep purple‑red glaze.
Add the lemon juice and pinch of salt; this brightens the flavor and helps the jam set. If using pectin, stir it in now.
Continue to simmer for about 20‑25 minutes, skimming any foam that rises. The jam should thicken enough to coat the back of a spoon.
Remove from heat, stir in vanilla if desired, then let the jam cool for a few minutes.
Transfer the hot jam into sterilized jars, leaving 1/4‑inch headspace. Seal and let cool to room temperature before storing.
Notes & Tips
-
1
If the jam seems too runny, continue cooking a few minutes longer; it will thicken as it cools.
-
2
For a smoother jam, press the berries through a sieve before cooking, but I love the small berry skins left in for texture.
Tools You'll Need
-
Large heavy‑bottomed pot
-
Wooden spoon
-
Sterilized jars with lids
-
Fine‑mesh sieve (optional)
-
Measuring cups and spoons
Must-Know Tips
-
Don't rush the simmer – a slow boil preserves color and flavor.
-
Skim foam to keep the jam clear and glossy.
-
Taste and adjust lemon or sugar before finishing.
Professional Secrets
-
Use a clean, dry spoon to stir – metal can catalyze browning.
-
Add a splash of water if the jam threatens to stick early on.
-
Cool the jam on a wire rack to prevent condensation inside the jar.

Recipe by
Amelia HartChef Amelia Hart is a dessert enthusiast who loves creating elegant cakes, cookies, and baked treats. Her baking style combines classic pastry techniq ...
Get Delicious Recipes Weekly
Join 25,000+ home cooks getting our best recipes straight to their inbox.
Free forever • No spam • Unsubscribe anytime